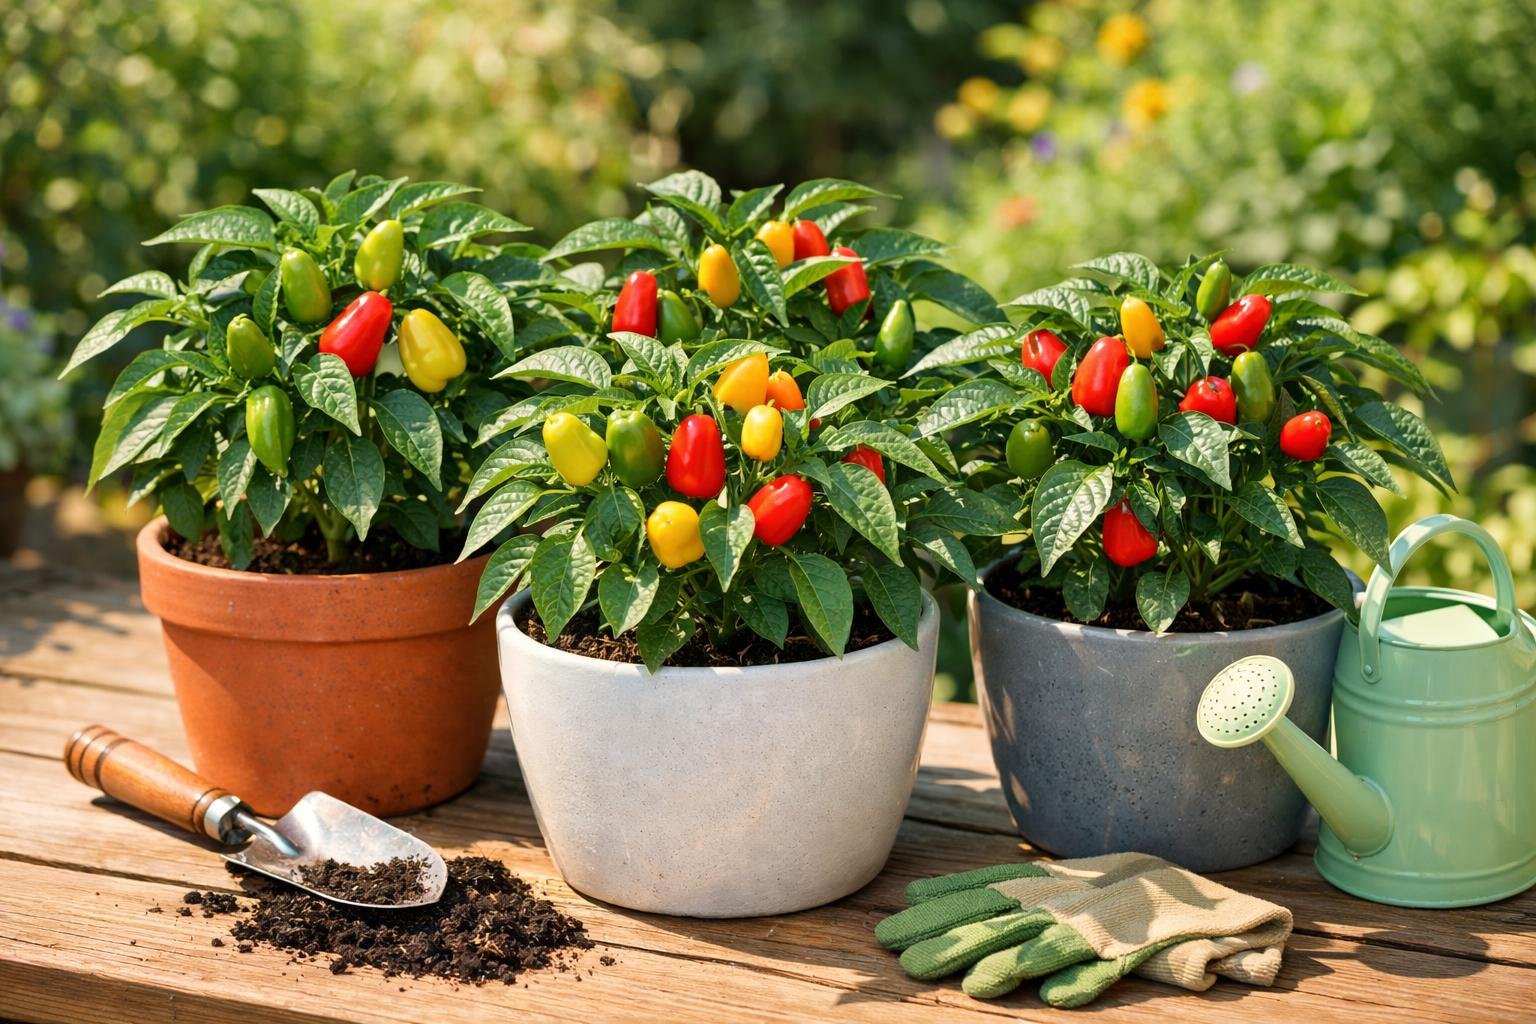
Starting seeds indoors gives gardeners control over their growing season and access to plant varieties that local nurseries rarely stock. This method allows seeds to sprout in a warm, protected environment weeks before the last frost, resulting in stronger plants and earlier harvests. The process requires basic supplies like seed trays, sterile starting mix, and adequate light.
Many gardeners avoid starting seeds indoors because they worry it requires special equipment or expertise. The truth is that anyone can grow healthy seedlings with a simple setup and attention to a few key factors. Temperature, moisture, and lighting make the difference between weak, leggy plants and sturdy transplants ready for the garden.
This guide walks through each step of indoor seed starting, from choosing the right containers to moving seedlings outdoors. The instructions cover timing, supplies, sowing techniques, and seedling care. Readers will learn how to avoid common problems and create conditions that produce vigorous plants.
Key Takeaways
- Starting seeds indoors extends the growing season and provides access to more plant varieties than nurseries offer
- Success depends on using sterile seed-starting mix, providing adequate light, and maintaining proper moisture and temperature
- Seedlings need gradual exposure to outdoor conditions before transplanting to prevent shock and ensure strong establishment
Why Start Seeds Indoors
Starting seeds indoors gives gardeners more control over their growing season and helps them save money while expanding their plant choices. This method solves several problems that come with planting seeds directly in the ground.
Benefits Over Direct Sowing
Indoor seed starting extends the growing season by several weeks. Gardeners can begin growing plants before the last frost date, which means earlier harvests. In cold climates, this extra time is necessary for plants like tomatoes and peppers that need 100 days or more to produce fruit.
Seeds planted indoors face fewer threats than those sown directly in the garden. Outdoor seeds must survive harsh weather, pests, and diseases right from the start. Birds, insects, and other animals often eat seeds before they can sprout.
Indoor environments protect fragile seedlings during their most vulnerable stage. Gardeners can monitor each plant closely and fix problems quickly. This protection leads to stronger, healthier plants that transplant well into the garden.
Control Over Growing Conditions
Starting seeds indoors allows precise control over temperature, moisture, and light. Most seeds germinate best between 65 and 70 degrees Fahrenheit. Indoor spaces maintain these steady temperatures, while outdoor soil temperatures fluctuate throughout the day and night.
Watering becomes more manageable indoors. Gardeners can keep soil at the right moisture level without worrying about heavy rain washing seeds away or dry spells killing young sprouts. This control reduces seedling losses from damping-off disease and other moisture-related problems.
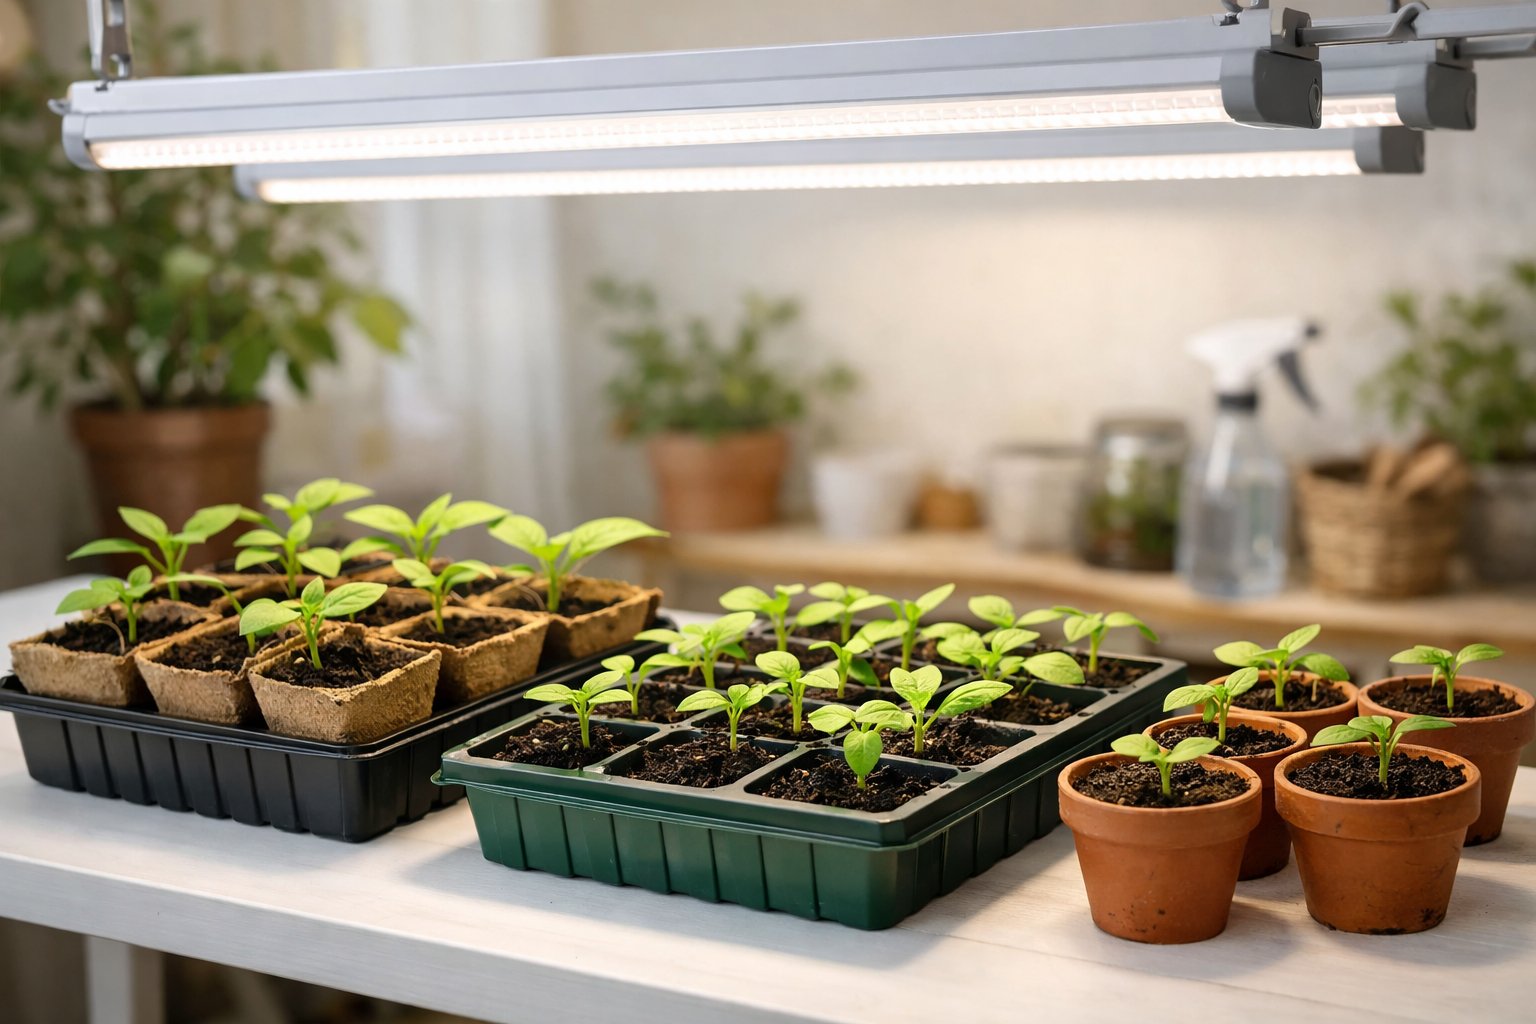
Light exposure can be adjusted to meet each plant's needs. Grow lights provide 12 to 16 hours of consistent light daily, positioned just 2 to 3 inches above seedlings. Natural outdoor light varies by weather and season, which can produce weak, leggy plants.
Cost Savings and Plant Variety
A single seed packet costs a few dollars and produces dozens of plants. Buying the same number of transplants from a nursery costs significantly more. The savings multiply when growing multiple plant varieties.
Nurseries stock only popular varieties with limited selection. Starting seeds indoors opens access to hundreds of plant varieties not available as transplants. Gardeners can choose heirloom tomatoes, specialty peppers, or rare flower varieties from seed catalogs.
Seeds remain viable for multiple seasons when stored properly. One packet often contains enough seeds for several years of planting. This long-term value makes indoor seed starting one of the most budget-friendly gardening methods available.
Planning Your Indoor Seed Starting
Starting seeds at the right time and choosing appropriate varieties makes the difference between strong plants and wasted effort. These two planning steps set up everything that follows.
Understanding Last Frost Date
The last frost date serves as the anchor point for all seed starting schedules. This date marks when the final killing frost typically occurs in spring for a specific area.
Gardeners count backward from this date to determine when seeds need to go into containers indoors. Most seed packets list timing as "start indoors 6-8 weeks before last frost date" or similar instructions.
Finding the last frost date takes just a few minutes:
- Check the USDA hardiness zone map and local agricultural extension office
- Use online frost date calculators with zip code lookup
- Ask experienced gardeners in the neighborhood
- Review historical weather data for the area
The date varies by region and can shift slightly year to year. Cold climate gardeners might have a last frost date in late May, while warm climate areas might see their last frost in February or March.
Seeds started too early become leggy and root-bound before outdoor conditions are safe. Seeds started too late don't have enough time to mature before fall frost arrives.
Not sure where to start?
Use the AgrowGuide Planting Calendar to look up your last frost date and the best indoor sowing window for your zone.
Selecting the Right Seeds
Not all vegetables benefit from indoor seed starting. Some plants grow better when sown directly in garden soil, while others need the head start that indoor growing provides.
Best seeds to start indoors include:
- Tomatoes, peppers, and eggplant (need 6-8 weeks indoors)
- Broccoli, cabbage, and cauliflower (need 4-6 weeks)
- Lettuce and herbs like basil (need 3-4 weeks)
Seeds to sow directly outdoors:
- Carrots, beets, and radishes (dislike root disturbance)
- Beans and peas (germinate quickly in cool soil)
- Cucumbers, melons, and squash (transplant poorly)
Seed catalogs offer hundreds more varieties than garden centers stock. Gardeners can select plants bred for specific climates, disease resistance, or flavor profiles that transplants don't provide.
Gathering Seed Starting Supplies
Starting seeds indoors requires specific materials that give seedlings the best chance to grow strong and healthy. The right containers, growing medium, and basic tools make a significant difference in germination rates and plant development.
Choosing Seed Trays and Containers
Seed trays and seed starting containers come in several forms, each with specific benefits. Standard plastic cell packs fit into trays and allow for easy bottom watering. These reusable options typically measure 2-3 inches deep, which provides enough room for root development.
Biodegradable peat pots or coir pots can be planted directly into the garden. This reduces transplant shock since the roots stay undisturbed. These containers need consistent moisture to prevent them from wicking water away from the soil.
Recycled containers like yogurt cups or egg cartons work well for beginners on a budget. The key requirement is drainage holes in the bottom to prevent waterlogged soil. Without proper drainage, seedlings develop root rot and fail to thrive.
Selecting a Seed Starting Mix
Seed starting mix is not the same as regular potting mix or garden soil. This specialized medium is sterile, lightweight, and designed specifically for germination. It usually contains peat moss or coco coir for moisture retention, along with perlite or vermiculite for proper aeration.
Garden soil is too heavy and compact for delicate seedlings. It also harbors weed seeds, pests, and diseases that can destroy young plants. Potting mix contains nutrients and is better suited for mature plants rather than seeds.
The texture of seed starting mix allows tiny roots to push through easily. It holds moisture without becoming soggy. Most mixes contain minimal nutrients since seeds have their own food supply during germination.
Essential Tools and Materials
A spray bottle helps water newly planted seeds without washing them away. The gentle mist keeps the soil surface moist during the critical germination period. Once seedlings emerge, a small watering can with a fine spout works better.
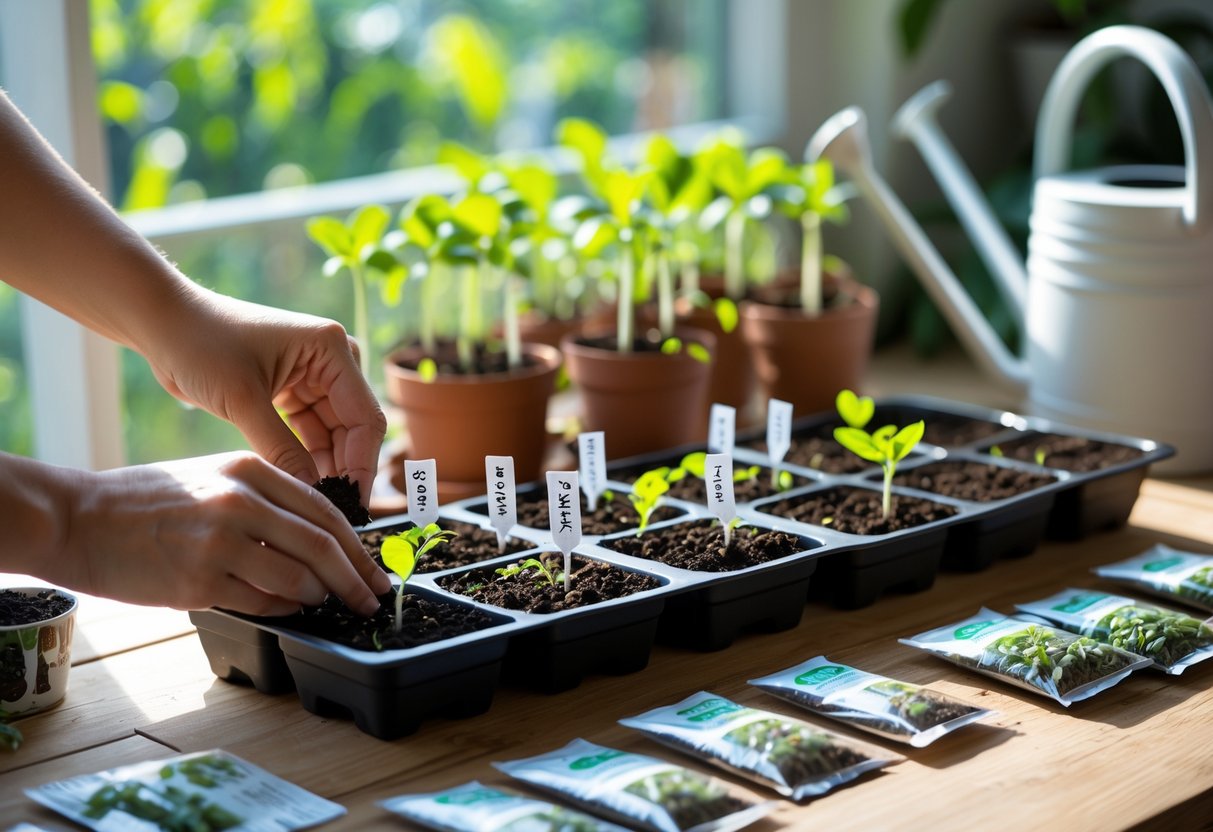
Plant labels are necessary to track what was planted in each container. Waterproof markers on plastic stakes or wooden craft sticks prevent confusion as different varieties look identical when young.
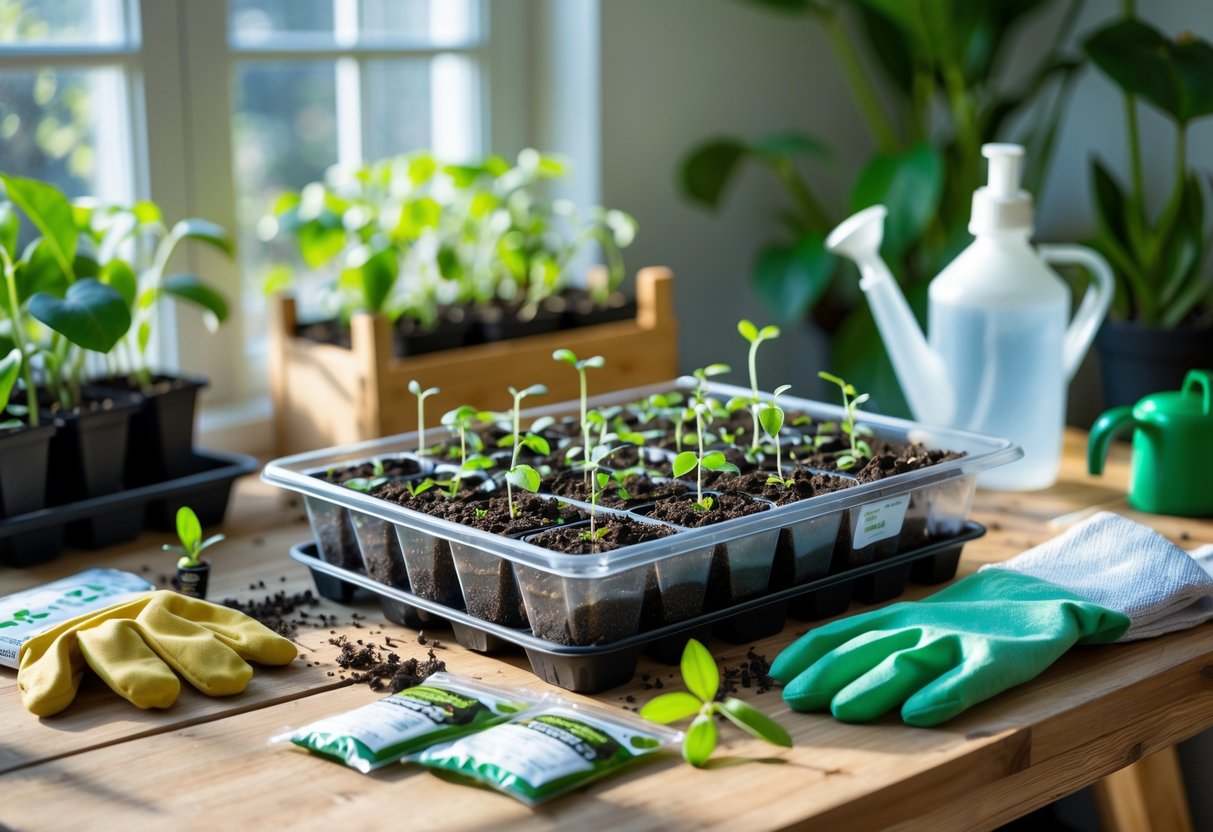
A humidity dome creates a greenhouse effect over seed trays. This clear plastic cover traps moisture and warmth, which speeds up germination. Remove it as soon as seedlings sprout to ensure proper air circulation.
Grow lights become essential when windowsills don't provide enough light. Fluorescent shop lights or LED grow lights positioned 2-3 inches above seedlings prevent leggy, weak growth. A timer set for 14-16 hours daily maintains consistent light exposure.
Sowing Seeds Indoors
The actual planting process requires attention to moisture levels, proper depth, and clear organization. Getting these details right from the start prevents common problems like uneven germination and mixed-up varieties.
Filling and Moistening the Growing Medium
Seed starting mix should be pre-moistened before filling containers. Dry mix repels water and creates air pockets that prevent seeds from making good contact with the soil. Gardeners should add water to the mix in a bucket or tub, stirring until it feels like a wrung-out sponge.
Once moistened, the mix goes into seed trays or containers. The containers should be filled gently without packing the mix down too hard. Overly compacted soil makes it harder for delicate roots to grow through.
The surface needs to be leveled with a hand or flat tool. A smooth, even surface helps seeds make uniform contact with the growing medium. This contact is essential for seed sprouting to occur at a consistent rate across all cells or containers.
Planting and Spacing Seeds
Planting depth depends on seed size. Tiny seeds like lettuce and petunias need light to germinate and should be pressed onto the surface without covering. Small seeds get covered with about 1/8 inch of mix. Larger seeds like beans and squash need 1/4 to 1/2 inch of coverage.
A general rule is to plant seeds twice as deep as they are wide. Most seed packets list the exact depth needed for that specific variety.
Spacing guidelines:
- One or two seeds per cell in cell packs
- Multiple seeds scattered in larger flats for later thinning
- Extra seeds for varieties with lower germination rates
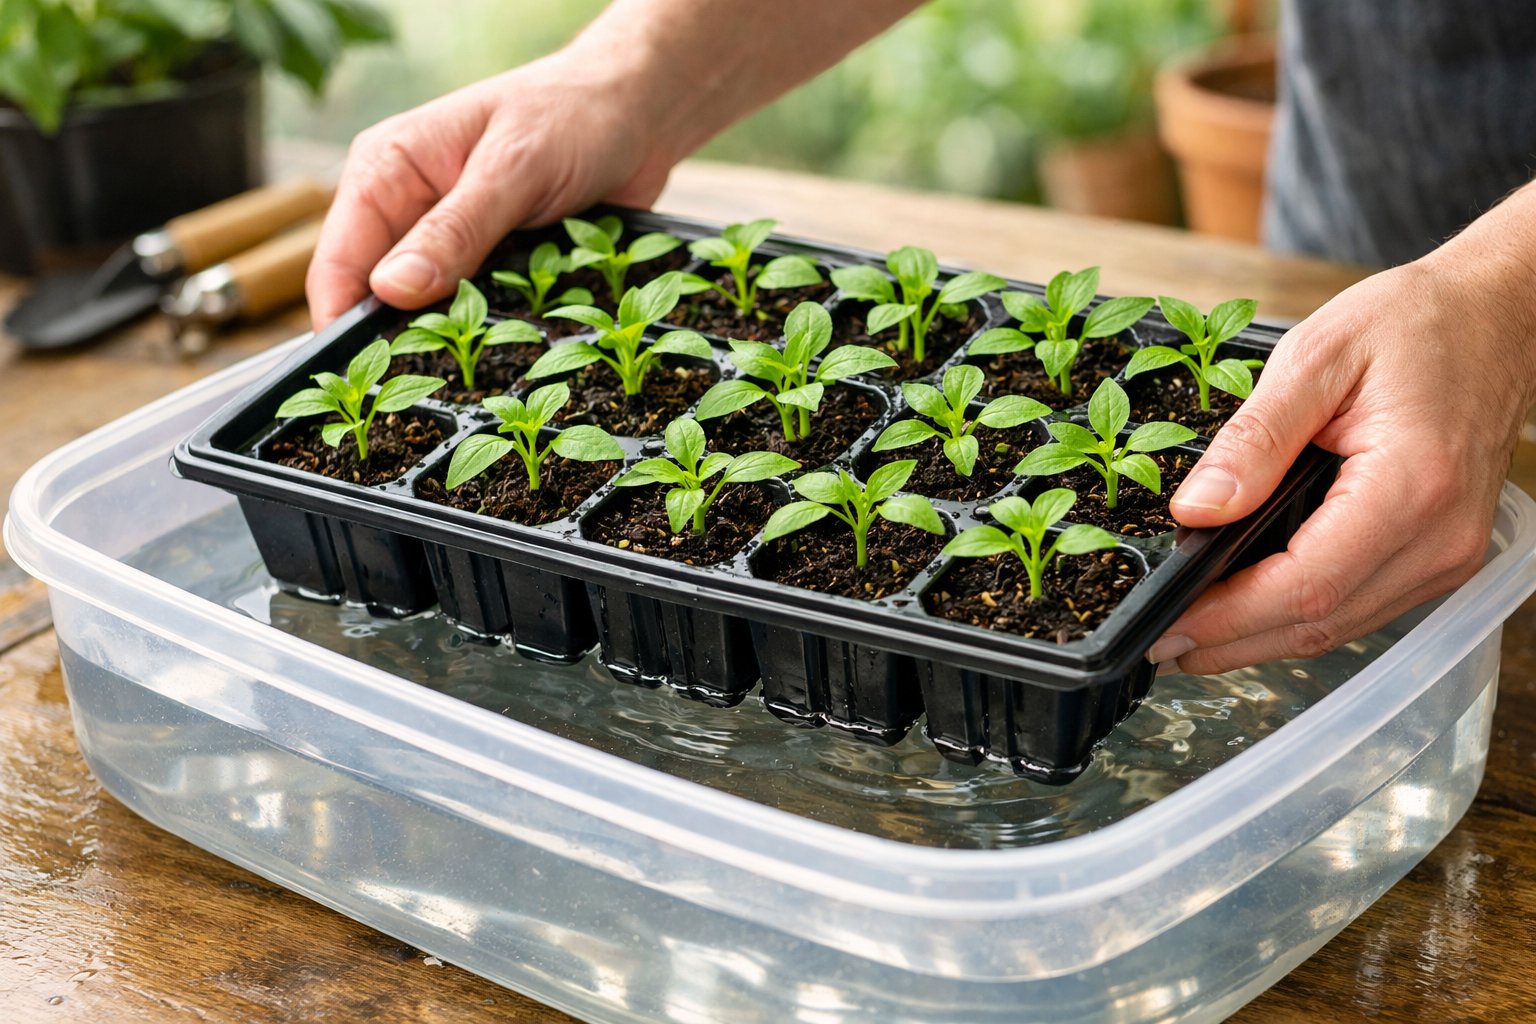
After planting, seeds need gentle moisture. A spray bottle works well for misting the surface without washing seeds around. Some gardeners prefer bottom watering at this stage by setting trays in a shallow pan of water.
Labeling and Organizing
Every container needs a label immediately after planting. Labels should include the variety name and the date planted. Without labels, it becomes impossible to track which seedlings are which, especially when multiple varieties look similar in early stages.
Pencil works better than pen on plastic labels because it won't fade or wash away. Permanent markers can run when wet.
Organizing trays by type or planting date helps with care later. Grouping plants with similar needs together makes watering and transplanting more efficient. Seeds that germinate at different speeds should be separated so humidity domes can be removed at the right time for each group.
Caring for Germinating Seeds
Seeds need consistent moisture, warmth, and proper light exposure from the moment they're planted until they sprout. Success depends on monitoring these conditions daily and making adjustments as needed.
Maintaining Proper Moisture and Humidity
The seed starting mix must stay evenly moist but never waterlogged during seed germination. Dry spots can stop seeds from sprouting, while too much water can cause rot or fungal problems.
A humidity dome placed over seed trays helps maintain moisture levels without constant watering. These clear plastic covers trap humidity and keep the soil surface from drying out. Gardeners can also use a clear plastic bag as an alternative to store-bought domes.
Once the dome is in place, gardeners should check moisture levels daily by touching the soil surface. A spray bottle set to fine mist works well for adding moisture without disturbing seeds or washing them away. Bottom watering also works by placing trays in a shallow pan of water and letting the soil absorb moisture through drainage holes.
Remove the humidity dome as soon as seedlings emerge to prevent fungal diseases. At this stage, the plants need more air circulation and slightly drier conditions.
Providing Optimal Temperature
Most vegetable and flower seeds germinate best when soil temperatures stay between 65°F and 75°F. Cool-season crops like broccoli and spinach prefer cooler temperatures between 55°F and 65°F, while warm-season plants like tomatoes and peppers need warmer conditions.
A heating mat placed under seed trays provides steady bottom heat in cool rooms or spaces where nighttime temperatures drop. Pairing the mat with a thermostat prevents overheating and maintains consistent temperatures. Without temperature control, heating mats can get too hot and damage seeds.
Standard room temperatures work for many seeds, but a soil thermometer helps gardeners verify actual soil temperature rather than guessing based on air temperature. Seeds won't germinate properly if the soil is too cold, even if the room feels comfortable.
Ensuring Adequate Light
Seeds fall into two categories: those that need light to germinate and those that don't. Small-seeded plants like petunias, snapdragons, and basil require light exposure to sprout, so they should sit on the soil surface rather than being buried.
Grow lights aren't necessary for germination unless seeds specifically require light to sprout. Basic fluorescent shop lights positioned a few inches above trays provide enough light and generate mild heat. Once seedlings emerge, they need 14 to 16 hours of light daily to grow strong and compact.
Keep lights close to emerging seedlings to prevent them from stretching and becoming weak. Seedlings that don't receive enough light become tall and leggy as they reach toward any available light source. Raising the lights as plants grow maintains the proper distance and ensures healthy development.
Nurturing Seedlings for Healthy Growth
Young seedlings need consistent care to develop strong roots and sturdy stems. Proper thinning, adequate light, and balanced feeding create the foundation for plants that will thrive after transplanting outdoors.
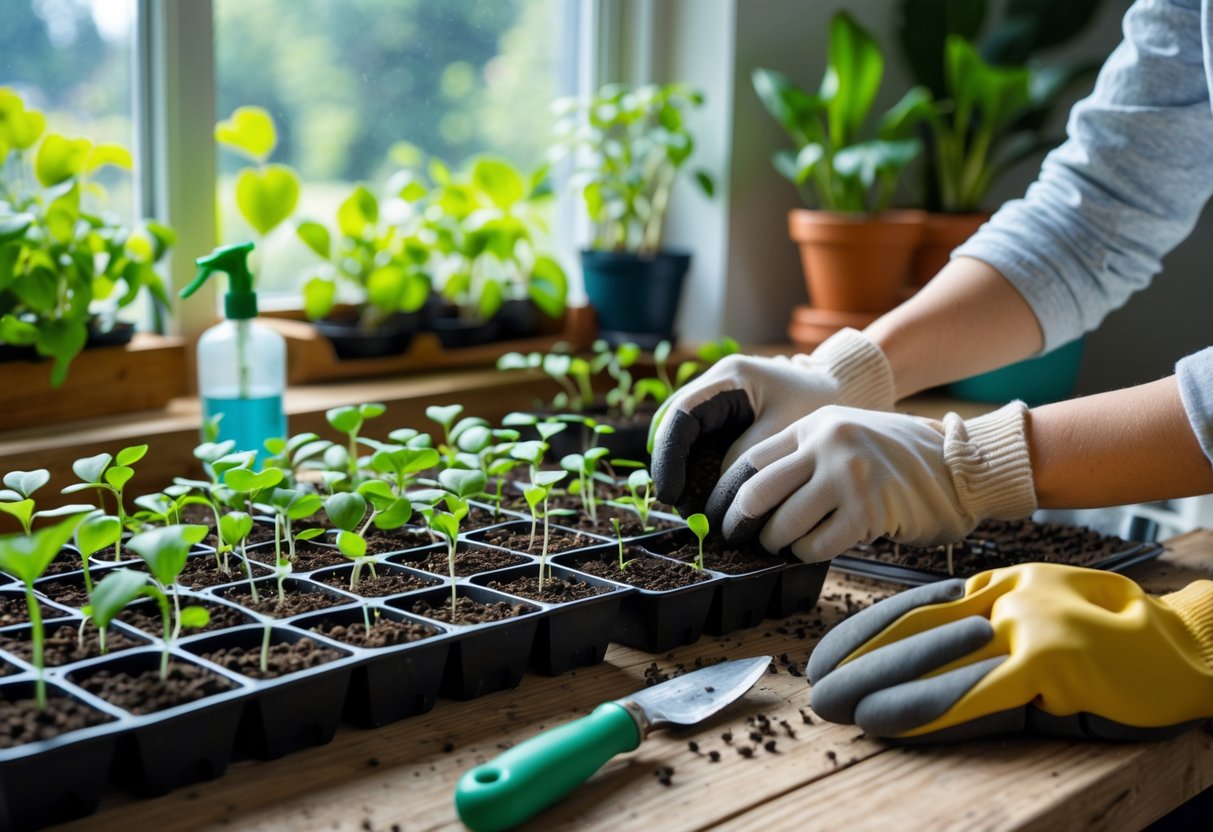
Thinning and Transplanting Seedlings
Thinning removes weaker seedlings when multiple seeds sprout in the same container. This step gives the strongest plant enough space and resources to grow properly.
Wait until seedlings develop their first true leaves before thinning. Use small scissors to snip extra seedlings at soil level rather than pulling them out. Pulling disturbs the roots of the seedling you want to keep.
Transplanting seedlings into larger containers becomes necessary when roots fill the current pot or when leaves start touching neighboring plants. Most seedlings need transplanting 3-4 weeks after germination.
Fill new containers with moistened potting mix. Make a hole large enough for the root ball and gently remove the seedling from its original container. Handle seedlings by their leaves, not their delicate stems. Place the seedling at the same depth it was growing before, then firm the soil around it and water thoroughly.
🌱 Don’t pull – snip!
Always cut extra seedlings at soil level instead of pulling them out.
That way you won’t disturb the roots of the seedling you want to keep.
Preventing Leggy Seedlings
Leggy seedlings grow tall and weak with thin stems that struggle to support themselves. This problem happens when plants stretch toward insufficient light.
Place grow lights 2-3 inches above seedlings and keep them on for 14-16 hours daily. Raise the lights as plants grow taller to maintain this distance. Natural sunlight through windows rarely provides enough intensity, even in south-facing locations.
Turn containers daily if using window light to prevent seedlings from leaning. Adding a small fan to create gentle air movement strengthens stems and prevents weak, spindly growth.
Lower temperatures at night by 5-10°F also encourage stockier growth. Avoid excessive heat, which promotes rapid but weak stem development.
Feeding and Watering Young Plants
Seed starting mix contains little to no nutrients. Begin feeding seedlings once they grow their first true leaves, which appear after the initial seed leaves.
Use a diluted liquid fertilizer at quarter or half strength every 7-10 days. A balanced formula with equal nitrogen, phosphorus, and potassium works well for most seedlings. Too much fertilizer burns delicate roots and damages plants.
Water when the soil surface feels dry to the touch but before seedlings wilt. Bottom watering works better than overhead watering for young plants. Place containers in a tray of water for 10-15 minutes, allowing soil to absorb moisture from below.
Empty excess water from trays after 20 minutes to prevent root rot. Morning watering gives plants time to dry before cooler evening temperatures arrive.
Frequently Asked Questions
Starting seeds indoors raises many practical questions for new gardeners. The answers below address common concerns about materials, timing, and techniques that help ensure successful germination.
What materials do I need to start planting seeds indoors?
The basic materials include high-quality seeds, containers with drainage holes, seed starting mix, a water source, light, and labels. Seeds should be fresh with good germination rates. Containers can be plastic cell trays, peat pots, or repurposed items like yogurt cups.
Seed starting mix is essential because it is sterile and lightweight, unlike regular garden soil. A spray bottle or gentle watering can prevents disturbing newly planted seeds. Labels help track what was planted in each container.
A grow light or very sunny window provides the necessary light for seedling growth. Most seedlings need 14-16 hours of light daily. Optional items that improve results include a seedling heat mat for warmth and a small fan for air circulation.
What is the ideal temperature range for germinating seeds indoors?
Most vegetable and flower seeds germinate best between 65-75°F. However, specific crops have different preferences based on their natural growing conditions.
Warm-season crops like tomatoes prefer 70-80°F, while peppers germinate best at 75-85°F. Cool-season vegetables like lettuce and broccoli need cooler conditions around 55-70°F.
Seeds germinate faster when soil temperature stays within their ideal range. A seedling heat mat helps maintain consistent warmth, especially in cool rooms or basements. Placing seed trays on top of a refrigerator or near a heating vent can also provide gentle bottom heat.
How do I use paper towels to germinate seeds?
The paper towel method tests seed viability before planting or pre-sprouts seeds for faster results. Start by dampening a paper towel until it is moist but not dripping wet. Place seeds on one half of the towel, spacing them apart.
Fold the paper towel over the seeds and place it inside a plastic bag or container. Keep the setup in a warm location around 70-75°F. Check daily to ensure the towel stays moist.
Seeds typically sprout within 3-10 days depending on the variety. Once roots appear, carefully transfer the sprouted seeds to soil. Handle them gently to avoid damaging the delicate roots.
Can I start seeds indoors without specialized grow lights?
Seeds can be started without grow lights if a very bright, south-facing window is available. However, most windowsills do not provide enough direct overhead light for healthy seedling growth.
Seedlings grown without adequate light become leggy and weak. They stretch toward the light source and develop thin, pale stems that struggle to support themselves. This happens because they receive insufficient light intensity and duration.
Standard LED shop lights work well as an affordable alternative to specialized grow lights. They should be positioned 2-3 inches above seedlings and kept on for 14-16 hours daily. Full-spectrum bulbs provide the best light quality for plant growth.
What are the steps for using egg cartons to start seeds?
Egg cartons serve as free, biodegradable seed starting containers. Begin by poking drainage holes in the bottom of each egg cup using a nail or pen. Fill each cup with pre-moistened seed starting mix.
Plant one or two seeds per cup at the depth recommended on the seed packet. Water gently and place the carton in a warm location. The cardboard will absorb moisture, so check soil dampness frequently.
Egg cartons work best for seedlings that will be transplanted early, as the small size limits root growth. When seedlings are ready to transplant, cut apart individual cups and plant them directly in larger containers or the garden. The cardboard breaks down naturally in soil.
How do I determine the best time to start seeds indoors for my region?
The timing depends on the average last frost date for a specific location. This date indicates when it is safe to transplant seedlings outdoors without risk of frost damage. Local extension offices and online resources provide this information by zip code.
Seed packets list how many weeks before the last frost to start seeds indoors. Count backward from the last frost date to find the ideal planting time. For example, if the last frost date is May 15 and tomatoes need 6-8 weeks indoors, seeds should be started between March 20 and April 3.
Different plants require different indoor growing periods. Slow-growing crops like peppers and eggplants need 8-10 weeks indoors. Fast-growing plants like cucumbers and squash only need 3-4 weeks. Starting seeds at the right time prevents plants from becoming too large or rootbound before outdoor conditions are suitable.